So this post was asked to be done by one of my good friends and fabulous designer Kris Cole of Prominent Sanctuary. I actually saw her at the mall and she asked me how do I do our giveaways on our blog since she was starting a blog herself and wanted to give away a piece from her collection. And for everyone that has asked me the same question, my answer is simple, Rafflecopter. Rafflecopter has been the easiest giveaway system that I can find thus far, and for all of my bloggers, you can set up a giveaway or contest in less than 10 minutes! I'll actually take you step by step on how to set a giveaway up using one that we will launch today, courtesy of ALIVE Magazine!
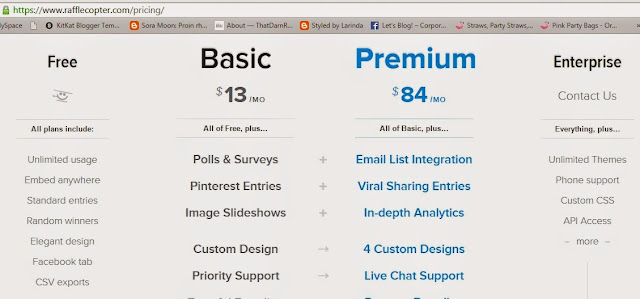
So first you'll want to choose from the packages listed below. The free package is very much suitable for anyone but if you want to use Pinterest or other features try the Basic package, you DO NOT need the premium package. For these purposes I will show you what it looks like to set up a giveaway with the Basic package. For any package though, you will get a 7 day free trial, just FYI.
So first you'll want to choose from the packages listed below. The free package is very much suitable for anyone but if you want to use Pinterest or other features try the Basic package, you DO NOT need the premium package. For these purposes I will show you what it looks like to set up a giveaway with the Basic package. For any package though, you will get a 7 day free trial, just FYI.
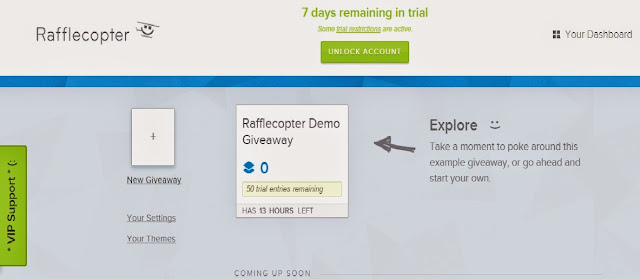
After signing up, you will be taken to your dashboard where you can create new giveaways, manage the ones you are currently running, and choose a winner(s) once your giveaway is over (go all the way to the right corner of the Rafflecopter demo box and click the x, we will create a brand new giveaway).
First step is to click on "Add A Prize".
Here you will name the things you are giving away. For example we will be giving away tickets to the #WeHeartSTL Celebration hosted by ALIVE Magazine. With the basic package you can add a photo to give the prize a little bit of glam, but you won't be able to with the free package,
After you have set up your prizes, you will now choose how your readers will enter into your giveaway. My first option I always choose is for our readers to visit and like our Facebook page. In this option you will put your Facebook page's name, the url, the point value, which is how many entries they will receive for doing this task, and if this task is mandatory or not. I suggest making it mandatory. It's not that hard for your readers to do and you get more likes and follows!
There are other ways that your readers can enter into your giveaway, such as following your account on Twitter, making a blog comment, or even creating another entry task of your own.
Then it's time to name your giveaway.
Most importantly you want to set terms and conditions of your giveaway such as who can enter, how long after the giveaway is over that the winner(s) will be notified, who is sponsoring the giveaway, and privacy policy statements. You can click right below the terms and conditions box to use the pre-filled template Rafflecopter provides.
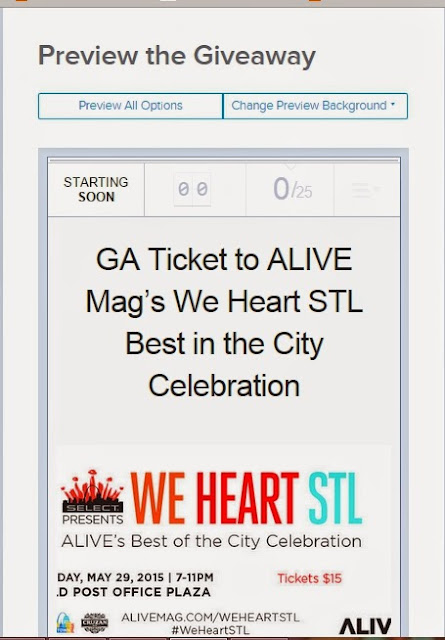
Now you will preview your giveaway to see if it looks how you want, with the basic package you can change the background color of the widget box.
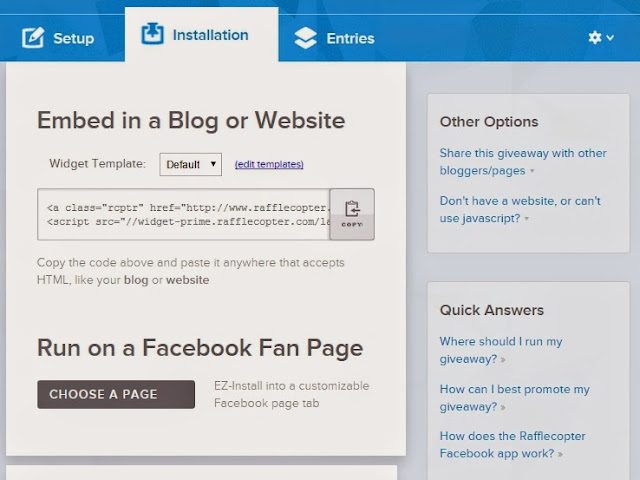
Last but not least you will want to embed your giveaway into your blog by simply copying and pasting the code. If you use a Facebook fan page you can also install it into there as well.
And here is how it looks in your blog! Hopefully that was an easy tutorial on how to use Rafflecopter for your giveaways. Speaking of giveaways, as I mentioned earlier, we are giving away 3 tickets to the #WeHeartSTL Celebration hosted by ALIVE Magazine! Giveaway will launch today at 2pm CST and go until May 25th (Monday) 5pm CST, so basically when I get off of work (lol). Simply click here to enter! And let us know if you have any questions on the tutorial we did!


No comments
Post a Comment